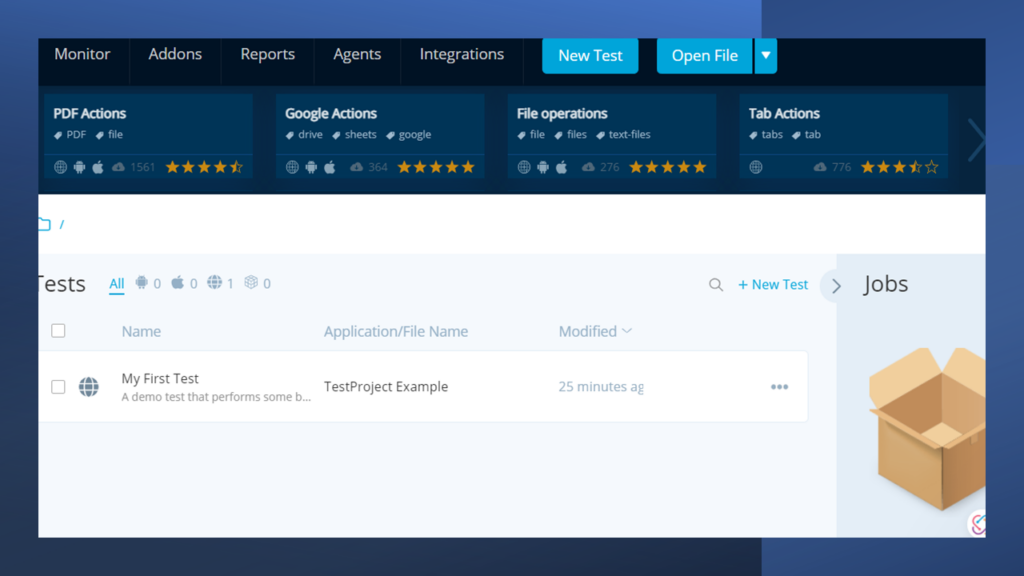
The concept is simple. You identify the type of test – web, mobile, or API. Then you tell it what is the URL to reach the application under test. The tool connects to the home page, and then you can navigate and select screen objects that become a part of the test script the tool builds. TestProject generates a script that is downloaded to your machine in YAML format. For those not familiar with YAML. First, it is a mark-up language. Second, it is a common configuration format. Some new tools are using this format as a more readable way to store a script.
When you save the script it gets downloaded. I move the script to a reusable location and take it out of the DOWNLOAD folder. On the Projects screen folder in the TestProject browser window you can upload the script which then allows you to edit or execute the script. After executing the script, TestProject stores results under its REPORTS page. You can navigate to it and see details covering the test results including the steps detail of the test run. It is part graphics and text. The results can be exported to your machine. Otherwise, it remains controlled by the tool. I could not find a delete option. So, I am assuming the test results build up.
Let me review a few technical aspects of the product depicting my first encounter with TestProject.
Technical Review
TestProject installs an agent on your machine
Near the end of installation, it tries to start the agent but fails. Defender, my anti-virus software, firewall blocks some of its features. I had to Allow access on the Windows Defender popup.
There is another step after starting the agent for the first time. On the TestProject website it requires a registration process. Then the agent launches with the following display:

I selected the Skip option. This takes you to another window in your browser like the following:

There are add-ons that listed across the top that can be activated. Tried to create a new test. I was successful creating a record session that resulted in a YAML file creation. That gets downloaded when you click the SAVE option on the popup window that can be moved around on the screen. The tool seems to have functionality built-in that enables it to recognize the objects you select on the application screen. Closing the browser window which is separate from the application window will cause the popup agent tool to close as well. On the Agent primary window in the browser you can select an OPEN FILE button. That supports accessing the YAML test file on your machine. Then the test is loaded into the project test window of the TestProject agent.

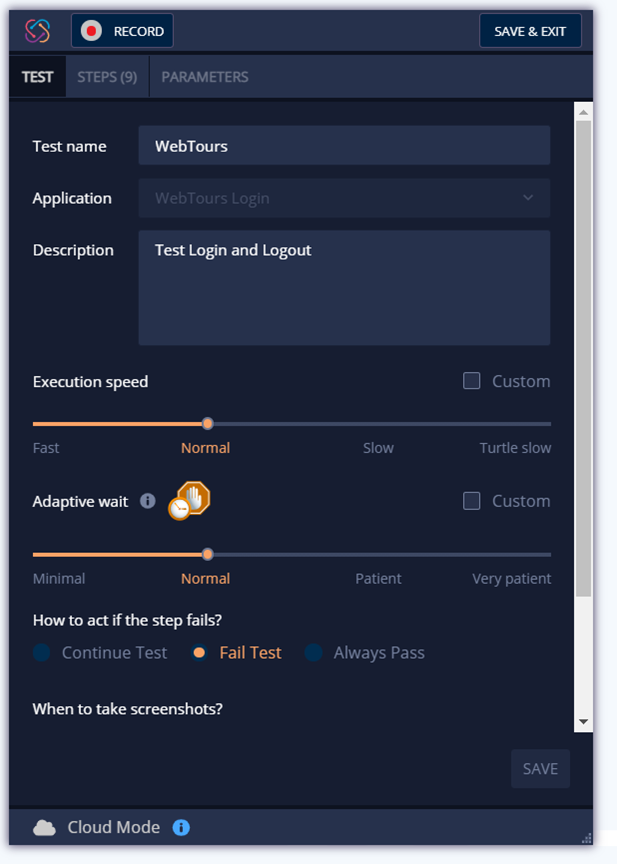
Upon selecting the uploaded test, the popup test window shows the script again. In the image there are 3 tabs: TEST, STEPS, PARAMETERS.
The TEST tab allows you to see general information regarding the test script. The STEPS tab allows you to see the script in a list format. And the PARAMETERS tab shows parameters generated automatically or manually. By default, it creates a parameter for the application URL.
RUNNING A TEST
On the line listing the test case, you can move your mouse near the end of the line and select a green right arrow to request a test run. Selected the test to run. It failed to generate the correct element XPATH for the Itinerary button of the application. Need to edit and correct.
TestProject does not always select the right screen object identification for test objects in the script. I tried a couple options and was not successful. It does not mean there is no XPATH or CSS Selector that will work for the object. It just means to me that it will take more time to find the right definition.
hmmm. NOT SEEING A WAY TO REMOVE TEST RESULTS
